Homemade Imbucare Box & Shape Sorter
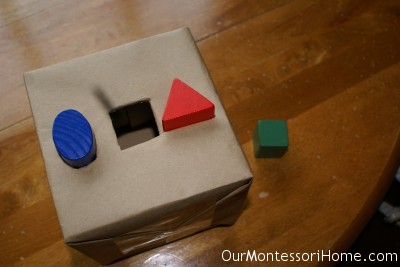
Otto is in love with putting objects in containers and he also thinks our object permanence box is pretty neat, so I decided to make my own imbucare box rather than purchase a pricey one.
I’ve made three so far–a cylinder box, a cube/square box, and a 3-shape sorting box.
Materials
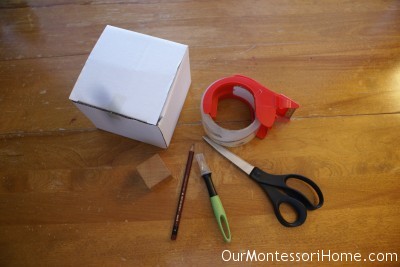
- box
- shape
- pencil
- scissors, craft/x-acto knife
- tape
- brown postal wrapping paper
Directions
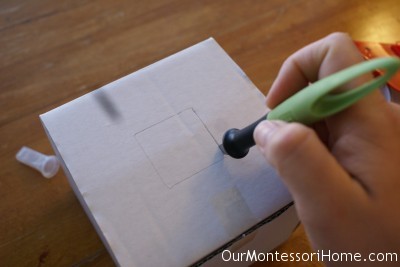
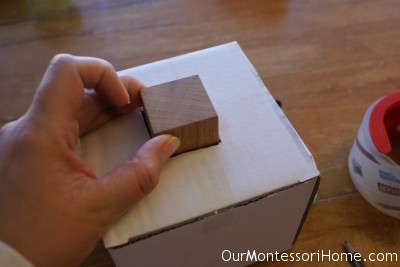
1. Trace your shape on the top of the box. It works best if you put the shape on a side where there isn’t flaps folded. 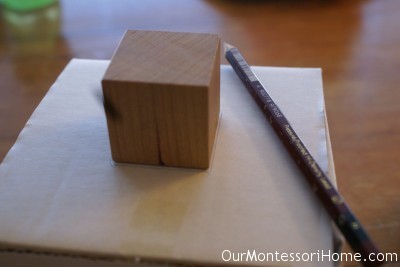
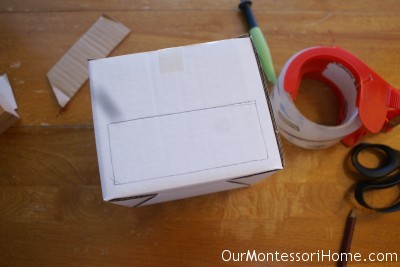
2. Trace a rectangle on the right side of the box large enough for the child to be able to reach their hand in and pull out the objects.
3. Using a craft knife cut out the shapes.
4. Test the shape holes to make sure they are large enough for the shapes. You want it to be fitted, but not so fitted the child will struggle to put the shapes inside.
5. Wrap the box with the brown paper as if you were wrapping a present. Try to make the folded sides of the paper not be where your holes are.
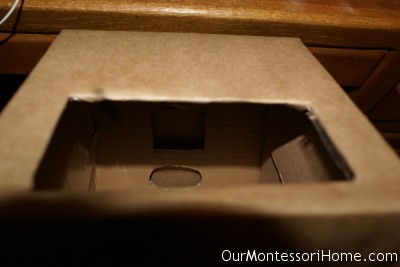
6. After you’ve taped the sides, cut the rectangular hole again making sure to leave room to fold the sides inward. Then tape the folded down sides within the box. Do this with the shape(s) on the top of the box as well.
(Sorry, I know this is not the best picture.)
7. Test your shape(s) on the box to make sure all still fits well.
And you’re done!
*Oh, that black spot in the pictures means I just need to clean my camera. 😛








2 comments… add one
Thanks for sharing this idea! Using this as inspiration I have just made a crude version using a recycled icecream container. Thanks!
Hi. I very much appreciate your creation. It is really help me take away my niece’s tantrums . actually, I don not have kids as i am still a student but I am keen on playing with them, guiding them. I feel sorry for kids who do not have well-educated environments for playing and learning.