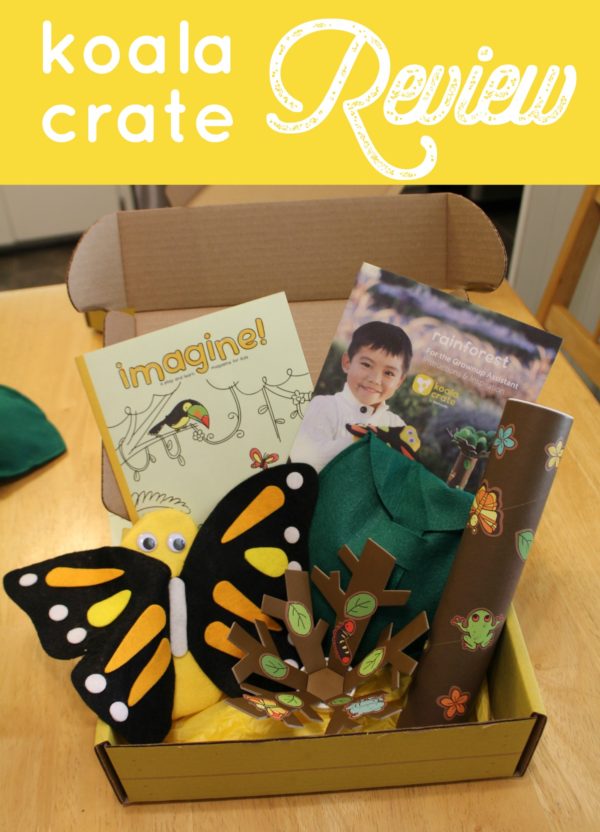
Koala Crate ReviewWe’ve been fans of Kiwi Co for awhile now and recently the people at Kiwi Crate reached out to us and asked if we’d be interested in reviewing a Koala Crate.

Umm…yes.

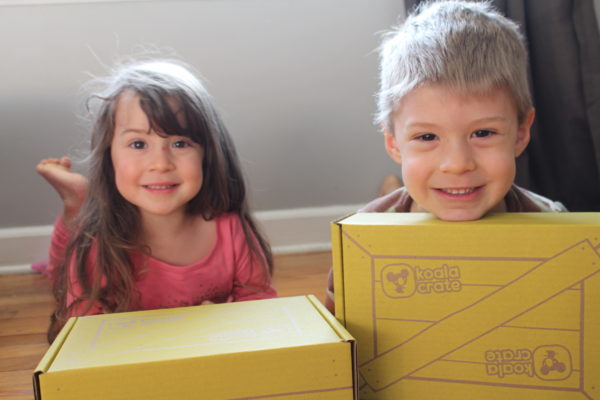
These little faces were excited to get a box all their own.

Koala Crate Review

What’s the difference between Kiwi Crate & Koala Crate?

#1 – Kiwi Crate is geared toward children 5 to 8 years old, while Koala Crate is aimed at children 3 to 4 years old. 

When our Kiwi Crate box arrives, we generally do the activities together. Joey (age 7) is really the only one who can do the Kiwi Crate independently. All the kids have fun, but Kiwi Crate is much more hands on for mom with the littles.

Koala Crate Review

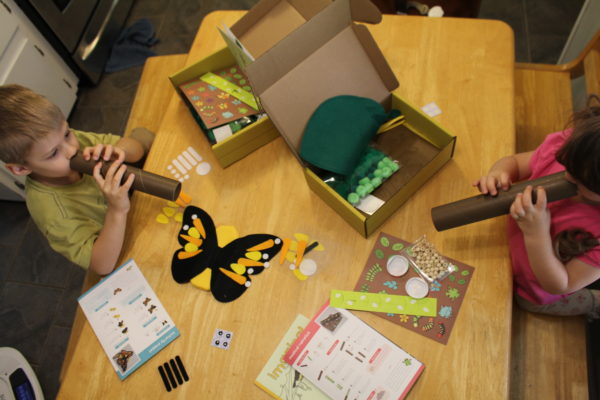
With the Rainforest Koala Crate, Otto (age 5) was able to complete the crafts independently. The step-by-step directions were written and paired with pictures for each step. Olivia (age 3) enjoyed building the crafts and playing the tree game, but did need some help with assembly.

#2 – Koala Crate comes with its own magazine called Imagine!. Kiwi Crate has its play and learn magazine, Explore!

Imagine is much shorter than its Kiwi Crate equivalent. There is still a story, a page with facts about rainforests, directions for an extra craft, recommended books on the topic, and a ‘Find the Difference’ picture game.Koala Crate Review
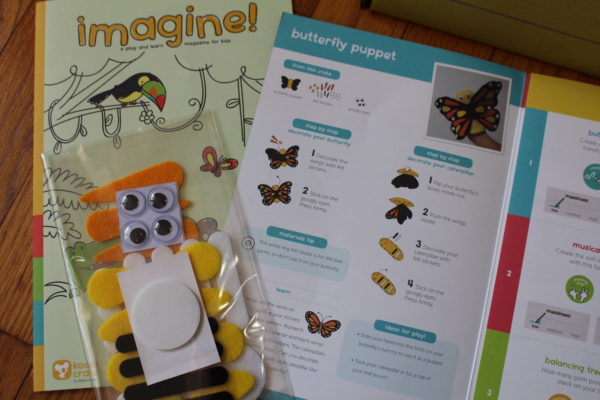
Joey was quick to point out that there are a lot more activities to draw, make, and experiments to try in the Explore magazine. This was a little disappointing, since Olivia’s favorite part of the Kiwi Crate magazines is to go back through and play the games and draw through the different activities. I was a little surprised there wasn’t more activities or even coloring pages in Imagine.

What’s the same?

Koala Crate Review

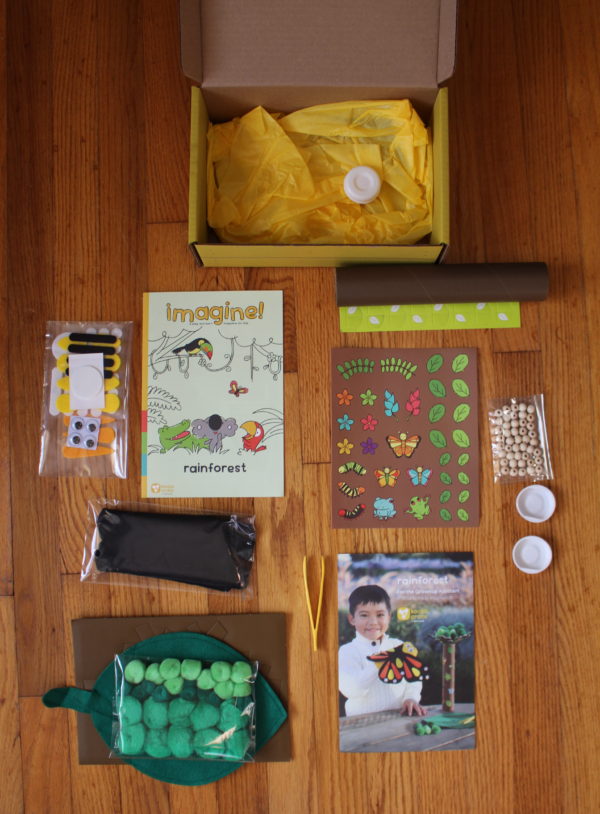
Everything you need is right in the box.

It’s still the same great quality of materials, as well as enough pieces leftover to use later.

The directions are simple, clear, and concise.

They still need a grownup. Yep. It’s not a babysitter in a box.

Tour the Rainforest Koala Crate

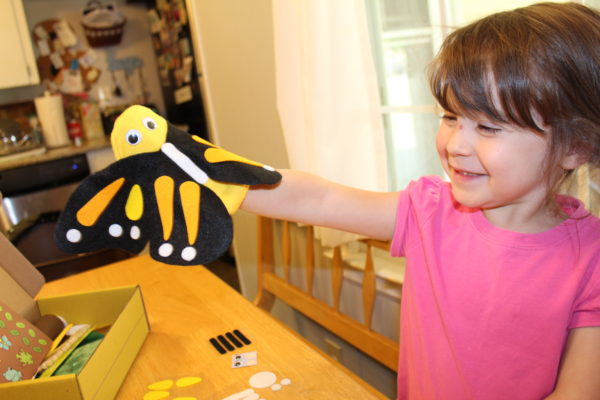
The first project was a butterfly puppet. The cool thing about this puppet is that you can fold the wings in and flip the puppet inside out to reveal the caterpillar side!

Koala Crate Review

Koala Crate Review

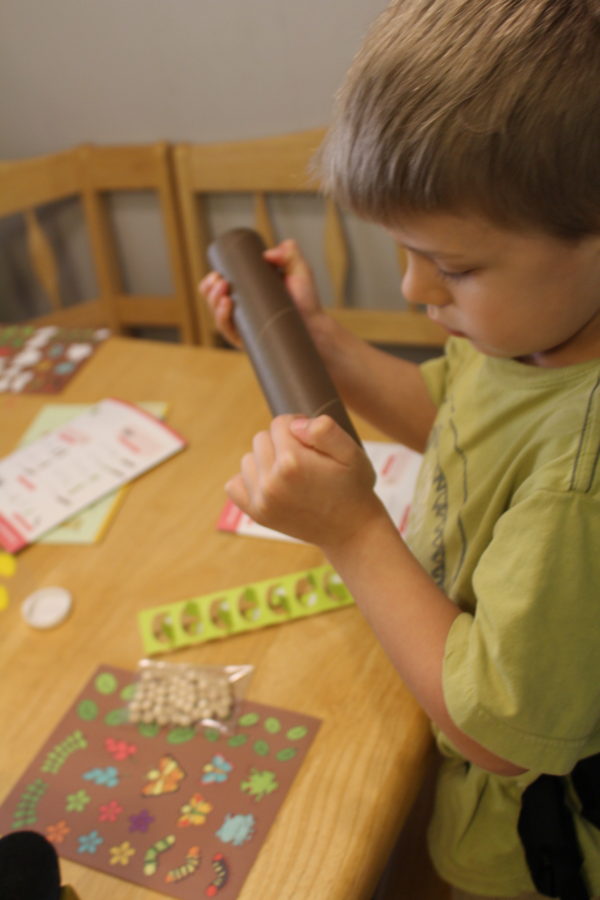
Next, they put together their own musical rainstick. They weren’t quite sure what a rainstick was and kept trying to shake it.

Koala Crate Review

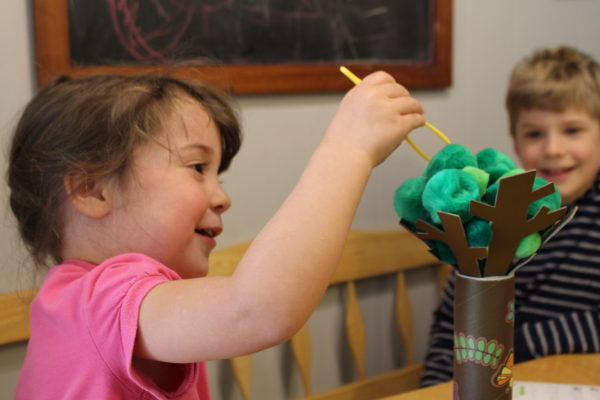
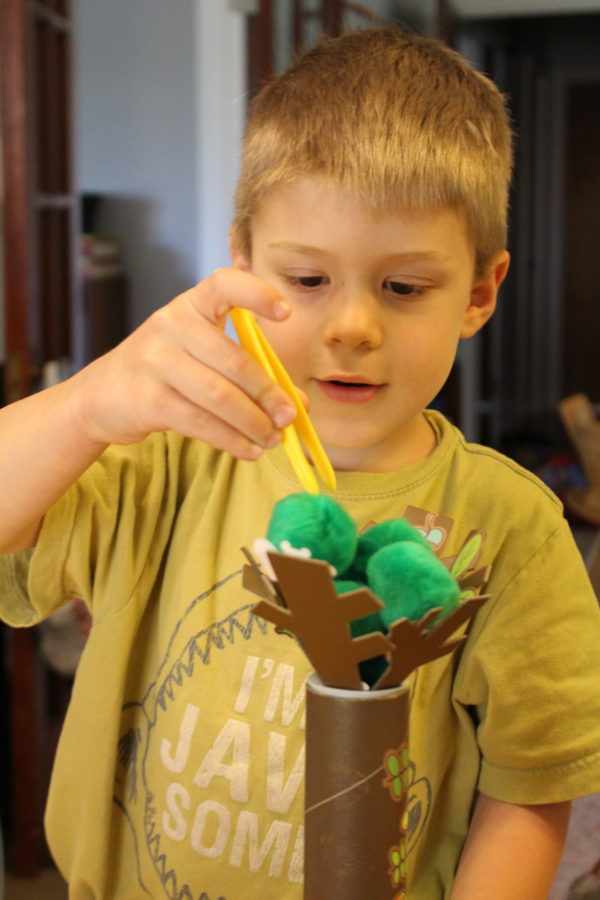
Once they finished making their rainsticks, they assembled the pieces to the balancing tree game. This is where they had the most fun.

Koala Crate Review

Working on some fine motor skills right there…

Koala Crate Review

What do the kids think?

Koala Crate Review

Momma’s Last Word.

I love the quality, creativity, and design of their products. Seriously, I’m a sucker for good design and continuity. I love that it’s accessible for my non-readers. I do wish the Imagine magazine had more of the good stuff the Explore magazine has. Overall, the Koala Crate is a great product.

Since we already have a Kiwi Crate subscription, I’m not sure we’d do both (a monthly subscription is $19.95/mo or less depending on the type of subscription). However, if I was looking at a craft subscription service geared to a 3 to 5 year old Koala Crate would be my choice.

Want to try Koala Crate?

Get 40% off your first month!

***

Want a peek inside a Kiwi Crate? Check out our review for Fun with Flight.

0 comments

Caring for Chicks

Caring for ChicksWe’re urban homesteaders. Or at least working our way there. We have a small garden, a compost pile, and two hens. So when we drove by Southern States (akin to a farmer’s Home Depot) and saw that chick days were coming up we let out a collective, “Awww…”

We decided that we’d at least go see them, since we were scheduled to get six pullets in a few weeks. Did we really need more chickens?

Obviously, we did.

After a few conversations about whether we could handle more chickens and who would be the primary caretaker (me), we decided to do what a friend has dubbed “a calculated impulse purchase.”

Last Monday after we finished with school for the day, we went to Southern States oohed and aahed over all the cute chicks, bought supplies for the chicks new home, and went home to set up.

Setting up the Brooder

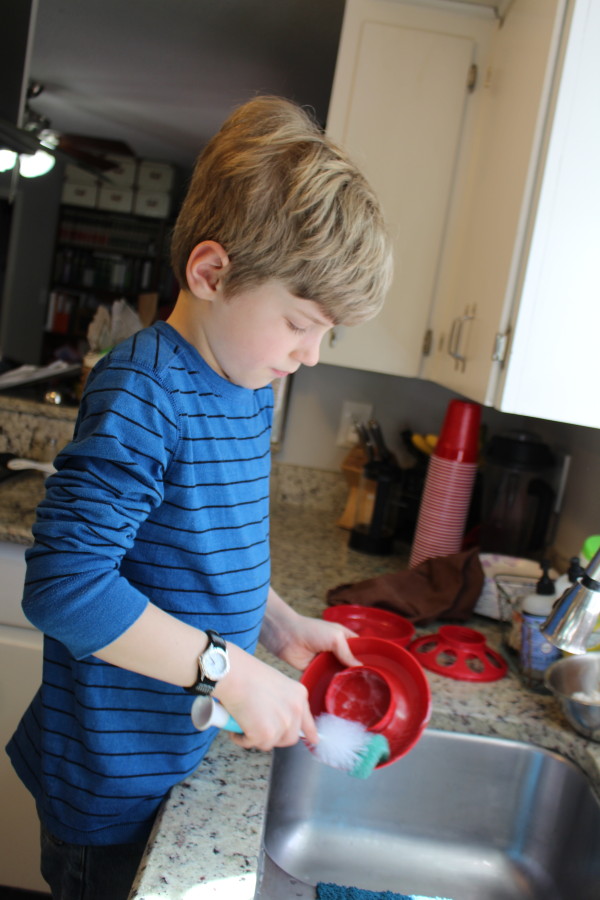
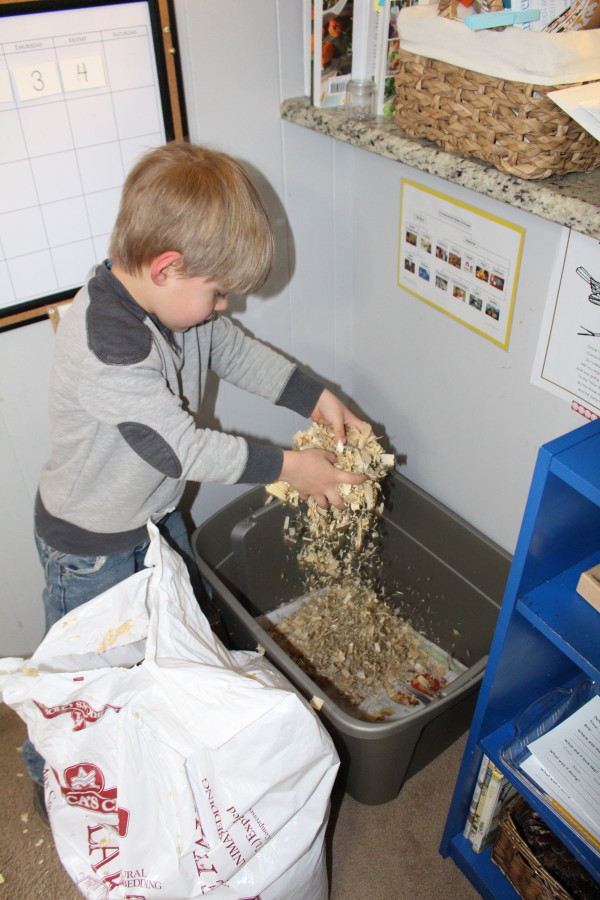
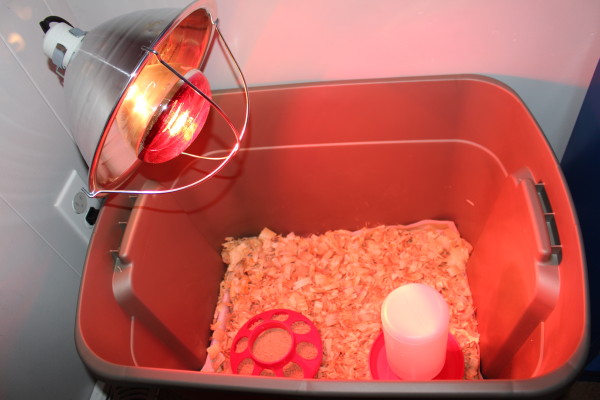
We had to clean everything the chicks would be using. The boys helped to wash and dry the tote box that would act as home, line it with newspaper, and then pine shavings while I set up the brooder lamp.

We added water and chick starter feed, and then we were ready!

Caring for Chicks

Caring for Chicks

This is a helpful post on getting started and setting up your chick brooder How to Build a Brooder from Modern Farmer and another from Southern States.

Caring for Chicks - Setting up the Brooder

Bringing Them Home

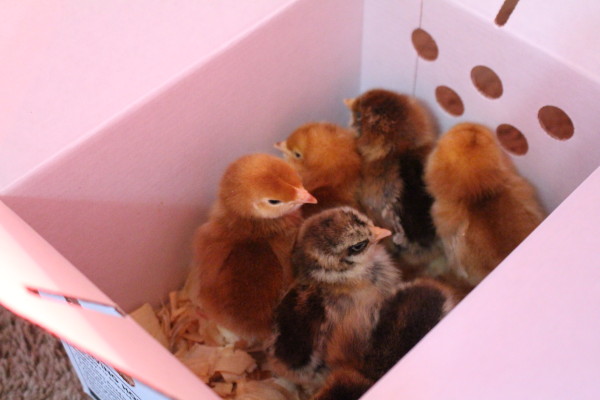
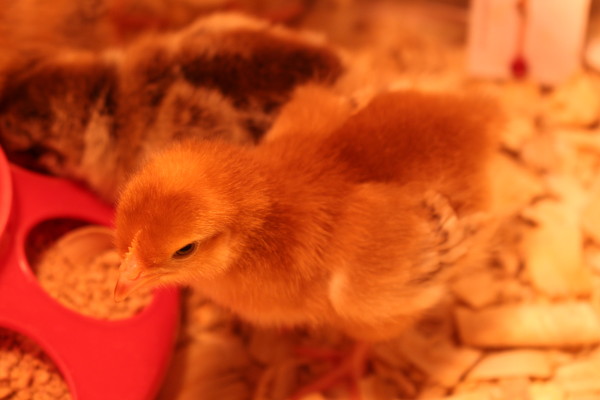
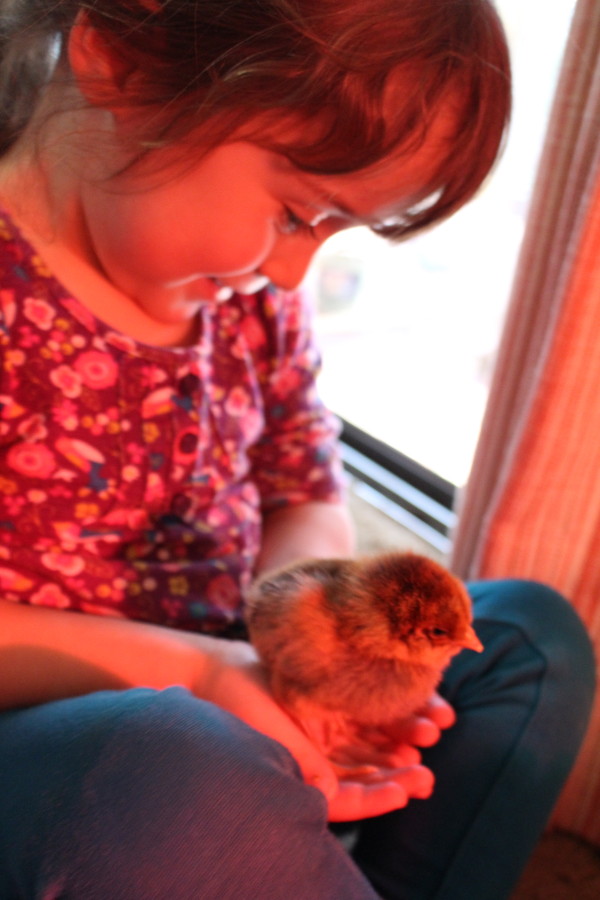
This was the fun part. They peeped, hopped, and skittered around their new home. I placed them in the brooder one by one, careful to hold them under their feet and cupped around their neck and back. Just this little hold and they become remarkably still.Caring for Chicks

When we put each one in the brooder,we had to dip their beak in the water so they know where to drink. They seemed to learn pretty quickly.

We ended up getting three Red Cross and three Easter Egger chicks. I really wanted Silver-Laced Wyandottes, but they were already gone by the time we got back to Southern States. Chick days are busy days!

Daily Care

Every day we clean and refill their waterer and add food to their feeder. Every couple of days we change the bedding as needed. I made up a chick record keeping chart, so that we could keep track of our chick care together and give the kids some responsibility for the chicks.

IMG_1283For the first few days, we checked the temperature every few hours to make sure we had the heat lamp right. We ended up having to elevate our box to get the right temperature.
It’s been really fun to watch the chicks, name them (from Curious to Brown Sugar), and watch them shed their chick fluff and watch their wings come in. As I’m typing this they’re chirping and chattering away while trying to figure out how to fly out of their brooder. It’s about time for a bigger box!

Caring for Chicks

Maybe you have chicks or are planning on getting some one day, it might be a helpful chart to have. I also made a chicken breed profile page, so that Joey could research (with help) the birds we have.

You can download your own right here:

Chick Care Recordkeeping


I’d love to hear if you have chicks or chickens and what breeds you have.


1 comment

How to Stop Asking, "Am I Doing this Right?"

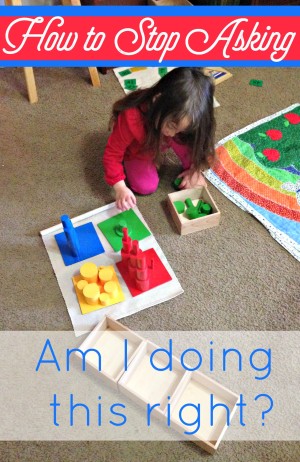
I see it over and over in blog post comments and Montessori groups. Eager parents asking, “Is this okay?” “Am I doing this right?” “Tell me what to do!”

This makes me think of one of three things. Number one, people are eager to implement the beauty and goodness of Montessori. Number two, people are uncertain and don’t know what to do or where to start.

There’s nothing wrong with this. The Montessori lifestyle is a journey. You learn, explore, and discover bit by bit.

You’ll hear me say again and again, take the time to read Montessori’s books, learning the different stages of the absorbent mind, as well as taking the time to observe your child and his or her needs in various settings and stages. There’s no rush. Truly, it’s better to take it slowly than dive in fast and deep.

Now, the next issue I see is the continuous questioning,

Is this okay? 

Am I doing this right?

Tell me what to do.

I understand wanting to “get it right,” but think about this for a second,

one of the goals of Montessori is to have the child think for themselves, rather than looking for validation of a job well done in a parent or teacher our desire is for them to go through their own process of discovery for the sake of discovery…not to get it right or perfect.

It’s the process that’s important.

When we ask the questions, “Am I doing this right? Is this okay?” we’re doing the opposite of what we want to inspire and create in our children. Can we equip our children to pursue freedom and purpose in their education and lives if we’re consistently asking ourselves, “Is this right?”

So what to do?

Always and always, take a deep breath and step back. You’re not a failure. You’re not going to mess up your child if you don’t start Montessori as a baby or if you missed part of the scope and sequence or even, nay, especially if you can’t afford all the pretty toys, materials, or have a perfect space.

Here’s your pep talk:

Perfection is overrated. Montessori isn’t about perfection. Montessori was a doctor, a scientist…science is about forming a hypothesis or testing a theory.

There is no set curriculum by age. No perfect timeline someone can give you for your child. There is no one size fits all. That’s the beauty of Montessori.

It’s not about getting it right or having the perfect toys or an immaculate room or all the sanctioned words.

It’s about spontaneous activity. A natural love for learning. You can’t bottle that and sell it as an infomercial. It comes from within. So cull the environment, leave space for the child to find the proverbial matches and let them light the spark.

It’s about observation. Trial and error. No one can tell you exactly what your child should be doing. Get to know your child. Watch them. What do they like to do? What purpose are they finding in the activity? If you set up an activity, how do they interact with it? What purpose are they seeking to get out of it?

Get over getting it right. Ask yourself, Is this why I’m doing this?

To have my child turn to me and ask, “Did I do it right?”

What do you want to build?

Follow the child. Observe. Adapt.

Interact. Invite. Guide.


1 comment

Basic Land & Water Forms

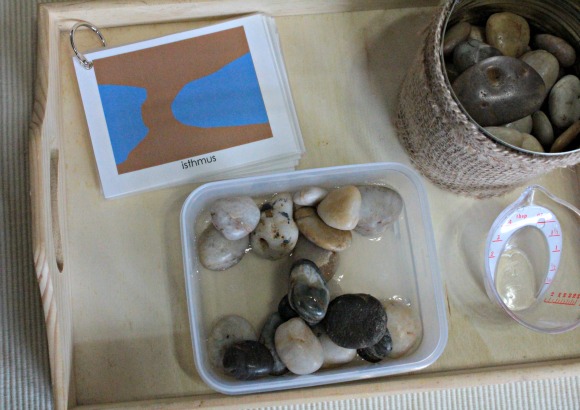
Basic Land & Water FormsLast month in our Geography lessons we had a lot of fun exploring basic land and water forms. The basic land and water forms include: bay, cape, island, lake, strait, isthmus, system of lakes, archipelago, gulf, and peninsula.

Land & Water Form Tray

DIY Land & Water Forms Tray

You can buy sets of the form trays, but since I like to try to save on both space and money I opted for a DIY version. We used just one tray and the kids had to shape the land form with rocks and then pour water in using a small measuring cup.

We kept the land & water form book on hand, so they could choose a land form to build and have an example.

Land & Water Form 3-Part Cards

We used the standard land and water form cards and then later introduced the land and water form cards with pictures. For our basic land and water form cards we used Montessori Print Shop’s Land and Water Form Cards (blue/brown) and for the photo cards we used The Helpful Garden’s free download Land & Water Forms Photo Cards. I prefer her form cards and wish I had used those.

If you’d rather not do all the printing and cutting Alison’s Montessori has basic land and water form cards for 3 to 6 and 6 to 9 (with definitions).

Land & Water Form Book

Land & Water Forms Booklet

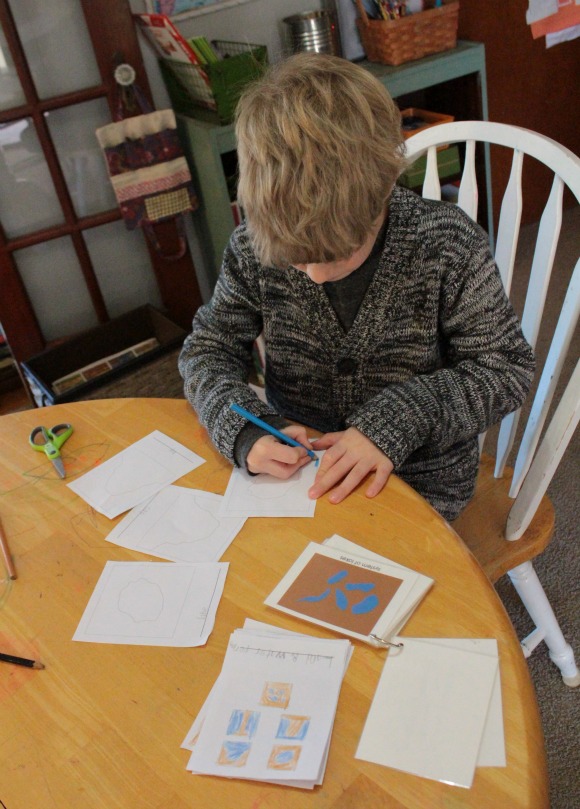
As the child moves into the elementary years and the second plane of development, definitions are added to 3-part cards. There’s a plethora of 3-part cards out there, but very few with definitions. We ended up using a booklet of land forms to aid in this. For the form book, we used Montessori Print Shop’s Land & Water Form Book.

We also used The Helpful Garden’s Land & Water Forms blackline master to make our own land and water form books. With this the child has to color the form in its correct color (blue = water, brown = land) and write the name of each. There’s also a printable option for the child to trace.

 Identifying Land & Water Forms on a Map

We talked a lot about where certain land and water forms are located and what’s the difference between similar land forms. Like, what’s the difference between a bay and a gulf? If you look at the Gulf of Mexico and the Hudson Bay on a map, they appear quite similar (at least to a 7-year-old).

Or how about a cape and a peninsula? How many islands do there have to be to be considered an archipelago?

We spent a lot of time pouring over our map and…asking Google. Do you know more than one strait? Now I do.

Making Your Own Salt Dough Land & Water Forms

Salt Dough Land & Water Forms

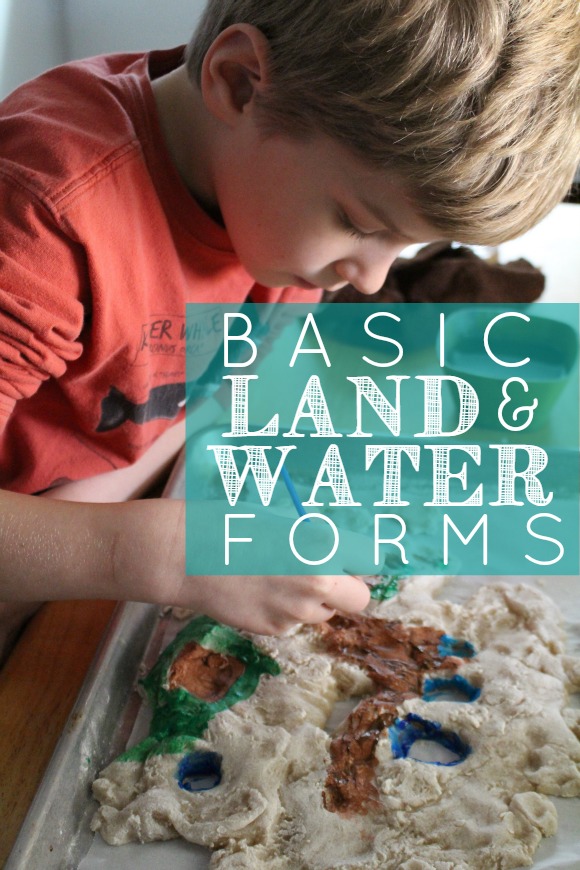
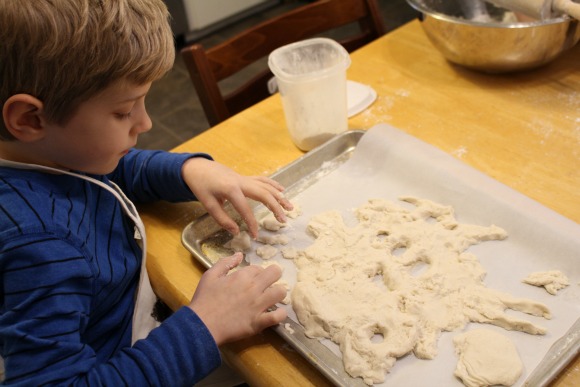
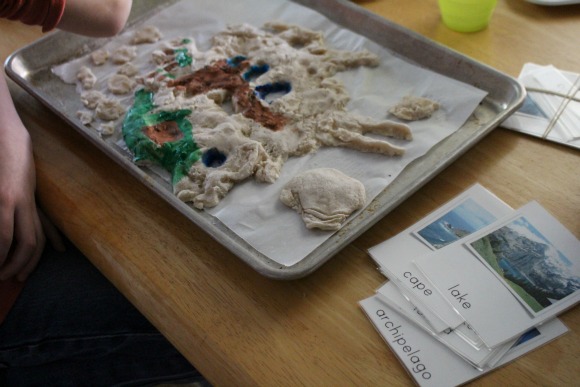
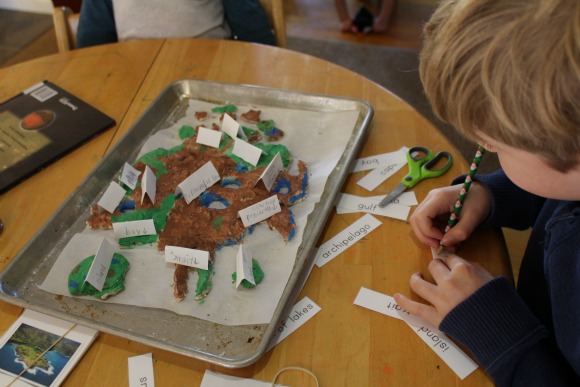
Probably the most fun was had when Joey spent a few days making his own land form island. He made the salt dough and shaped each formation. After the island was baked and cooled, he painted his island and even gave each form a proper name.

Basic Land & Water Forms from Salt Dough

Naming Land & Water Forms
Go and explore land and water forms!

1 comment

Gingerbread Friends {a recipe}

Baking Gingerbread Friends {with recipe}

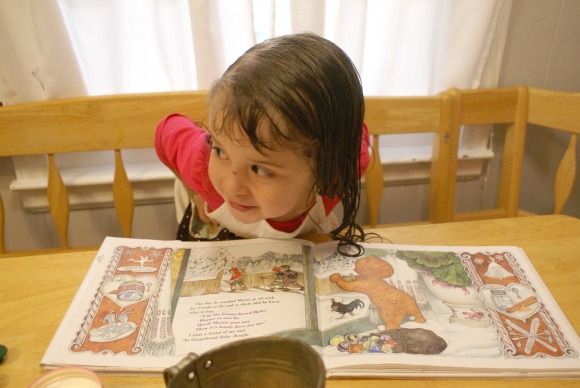
Last week we started the first of our holiday baking with a little inspiration from Jan Brett’s Gingerbread Friends. We were reading through a stack of Christmas books we had checked out from the library and once we got to Gingerbread Friends the beautiful side illustrations of ingredients on each page beckoned to us.

Now, I’m all about letting kids in the kitchen to do some actual work, but that doesn’t mean it doesn’t stress me out. It totally can.

When my kids are cooking with me in the kitchen it’s usually with only one or they take turns doing different parts of the recipe.

Gingerbread Friends by Jan Brett

Making Gingerbread Cookies with Kids & Gingerbread Friends

I find, for me, I have to prep myself before I invite them into the kitchen to cook. It sounds silly, but if I mentally prepare for what may or may not happen, when I do the actually cooking or baking it’s a lot more enjoyable.

And up front I know, it’s going to be messy, they’re going to grab at things, they’ll need help, and it’ll take longer, but it will all be okay. No sugar coating it.

Gingerbread Friends with Recipe

Baking Cookies with Gingerbread Friends

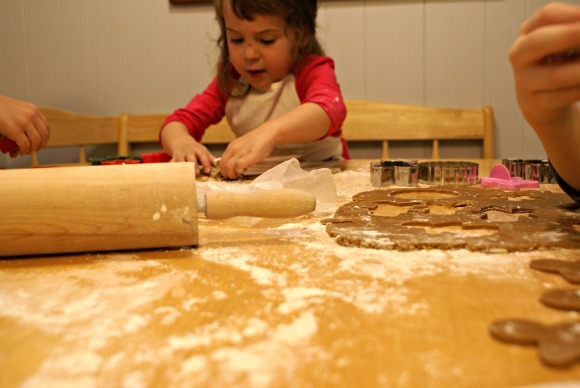
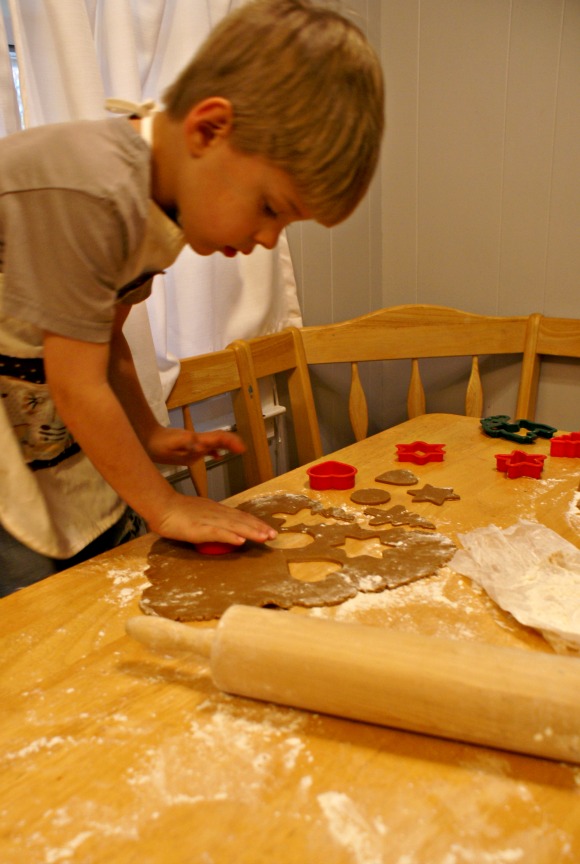
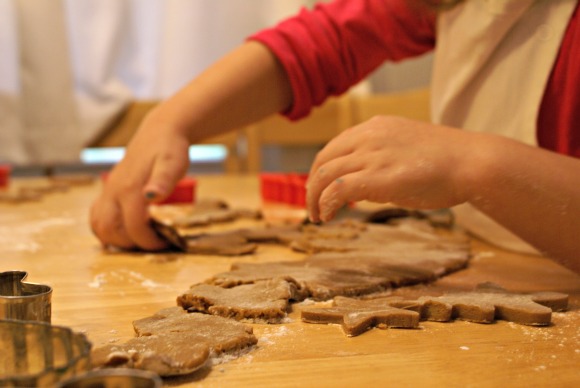
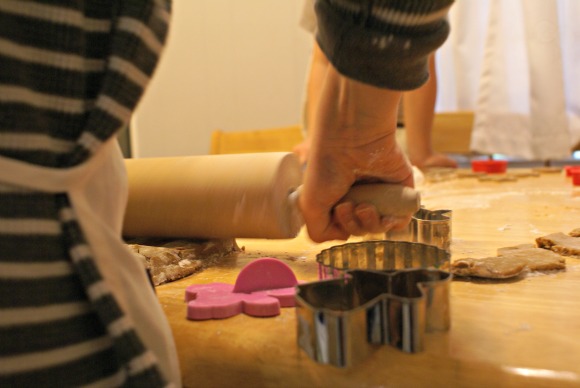
And it was all those things, but it was fun to see them powder the table with flour and practice rolling out the dough so it wasn’t too thick or thin for their cookie cutters.

Jan Brett's Gingerbread Friends & Gingerbread Cookie recipe for cooking with kids in the kitchen.

They really are capable people and sometimes it’s me who needs the preparation.


Jan Brett's Gingerbread Friends & Gingerbread Cookie recipe for cooking with kids in the kitchen.

Gingerbread Friends with Cookies

Baking Gingerbread with Jan Brett's Gingerbread Friends

Gingerbread Cookies Recipe

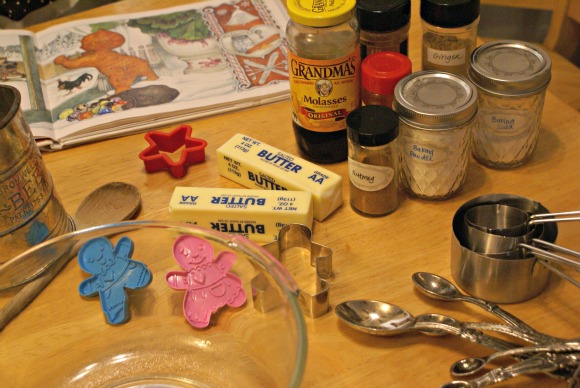
Ingredients:

  • 3/4  cup butter, softened
  • 1/4 cup white sugar
  • 1/2 cup brown sugar
  • 1 tsp baking powder
  • 1/2 tsp baking soda
  • 1 tsp ginger
  • 1/2 tsp cinnamon
  • 1/2 tsp cloves, ground
  • 1/8 tsp nutmeg
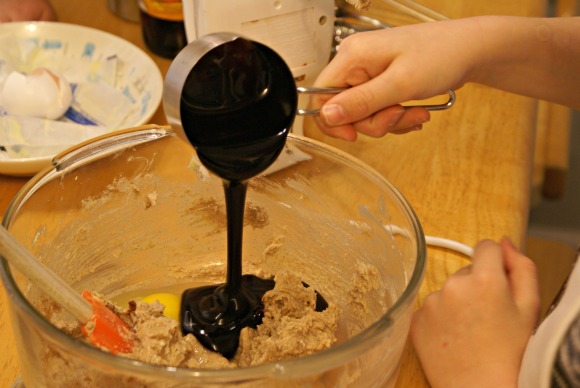
  • 1/2 cup molasses
  • 1 egg
  • 2 1/2 cup flour
  • powdered sugar for dusting (optional)

Gingerbread Cookies with Jan Brett's Gingerbread Friends

Directions:

  1. In a bowl, beat butter with a mixer on high for 45 seconds.
  2. Add brown sugar and white sugar, mix well.
  3. Next add in your baking powder, baking soda, ginger, cinnamon, cloves, and nutmeg. Beat until well combined, scraping the sides of the bowl as needed.
  4. Beat in molasses and egg until combined.
  5. Mix in as much flour as you can with the mixer. Add in any remaining flour and stir.
  6. Divide the dough, wrap in wax paper or saran wrap, and refrigerate for 1-3 hours, so it’s easier to roll out. (I divided our dough into thirds so each child had their own to roll out.)
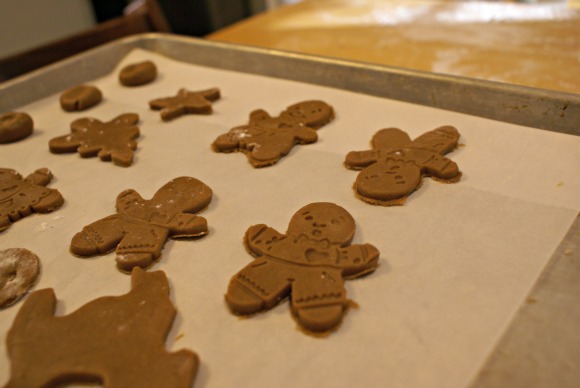
  7. Preheat the oven to 375 degrees and lay parchment paper on your baking sheets.
  8. Prepare your work surface by sprinkling it with flour. Rubbing your rolling pin in flour will also help the dough from sticking. Roll out your dough and use your favorite cookie cutters.
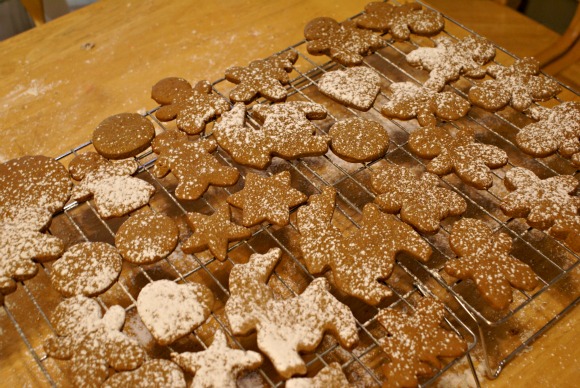
  9. Bake at 375 for 7-8 minutes. Transfer to cooling rack. Lightly dust with powdered sugar or, if you’re up for it, decorate with icing and candies.

Gingerbread Friends & Gingerbread Cookie recipe for cooking with kids in the kitchen.

If you’re looking for child-size kitchen and cooking toys, For Small Hands has a great selection.

1 comment
//Track outbounds